To export the final SwiftUI code for a document, click on the Export button in the toolbar.
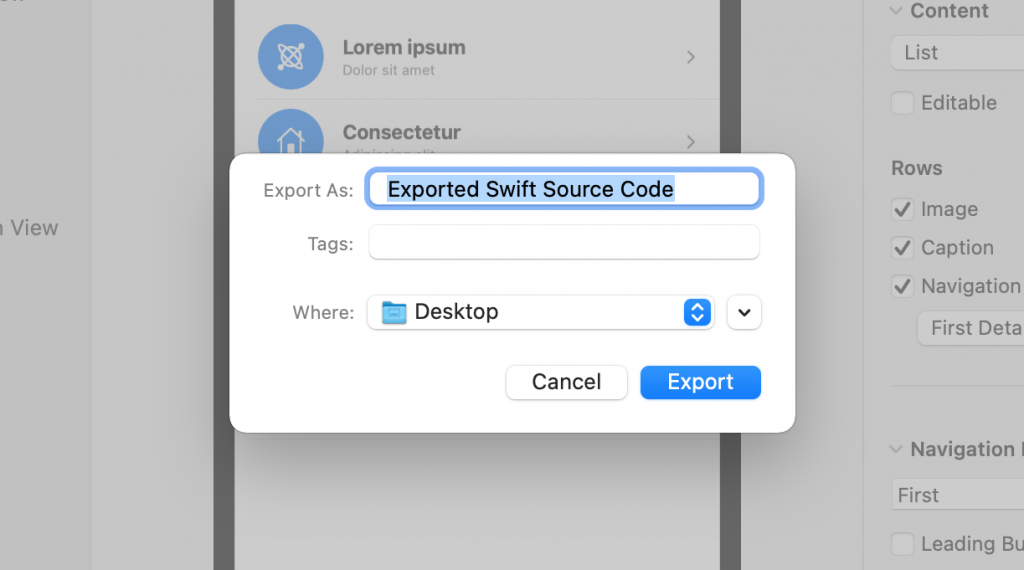
In the pop-up window, you can name the folder which will contain the exported .swift files and their location.
The simplest way to import code in an Xcode project is to save the exported code in an easy-to-reach location, e.g., your Desktop folder.
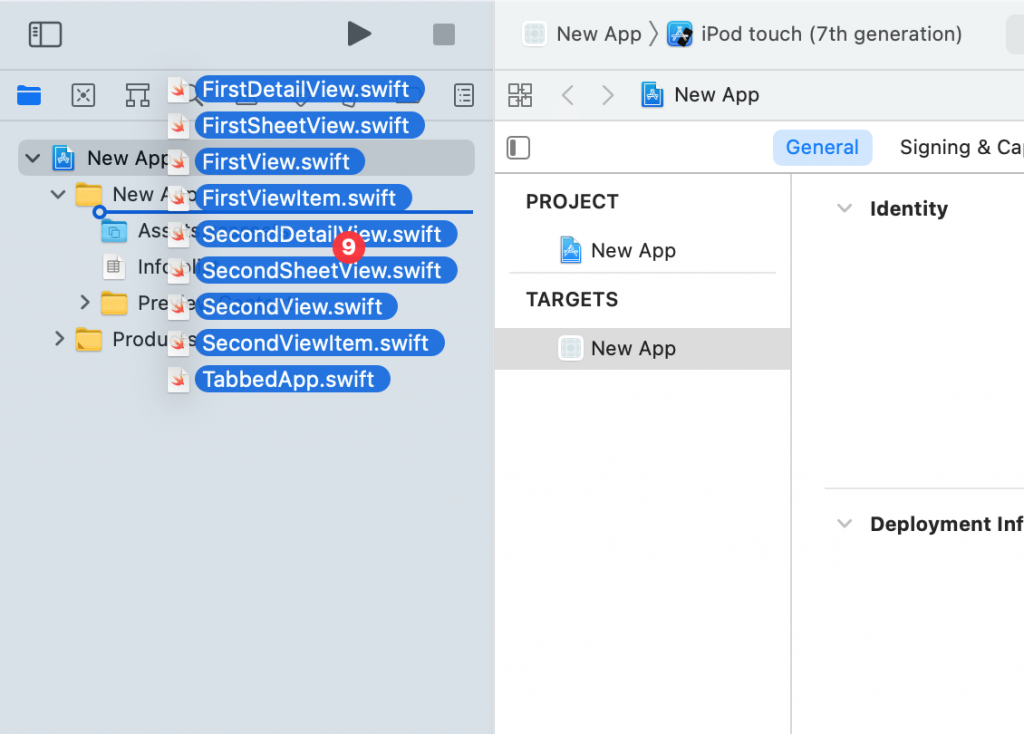
Then, drag all the .swift files into your Xcode project. This can be an existing project to which you add a few new views or an empty project for a new app. In the latter case, you will likely have to delete all the SwiftUIfiles in the project since Vulcan also exports a .swift file for the app’s starting point.
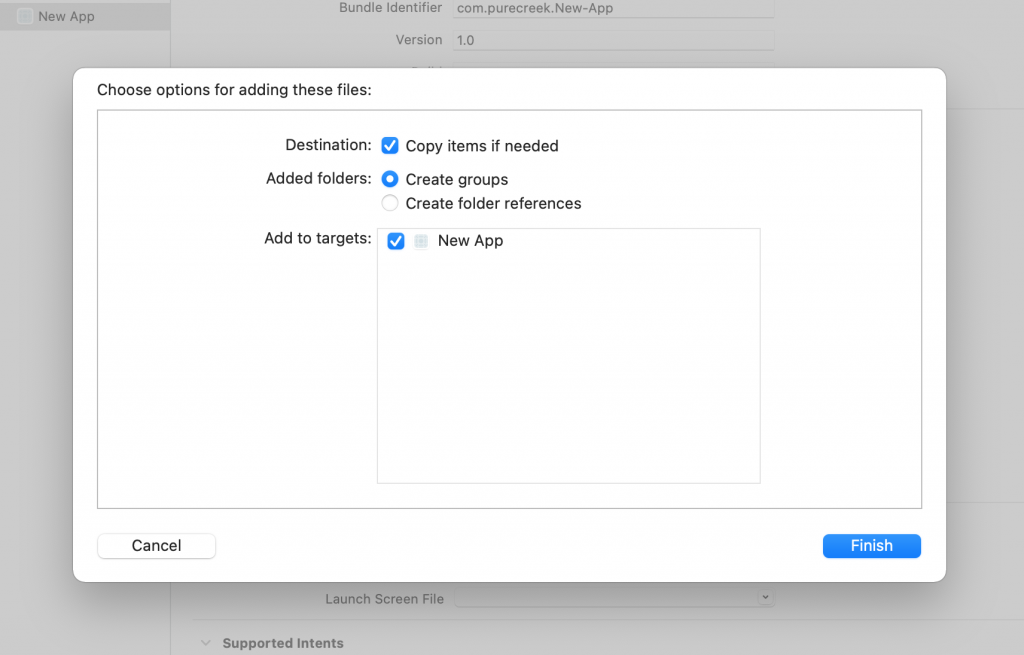
Make sure to check the Copy items if needed option so that your files will be copied inside the folder for your Xcode project.
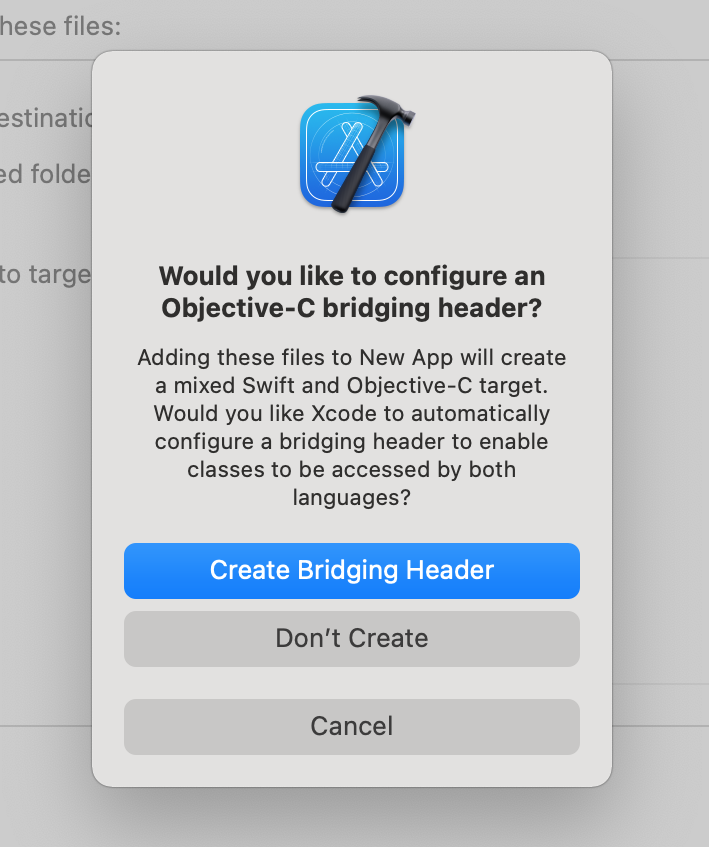
If Xcode asks you to create an Objective-C bridging header, select Don’t Create.
The code generated by Vulcan should always compile without errors, even if the components in the exported document are not all connected (provided that you don’t have any existing files in your Xcode project that create name collisions.)
If you get any error, please get in touch with us, including your document, so that we can fix the problem.